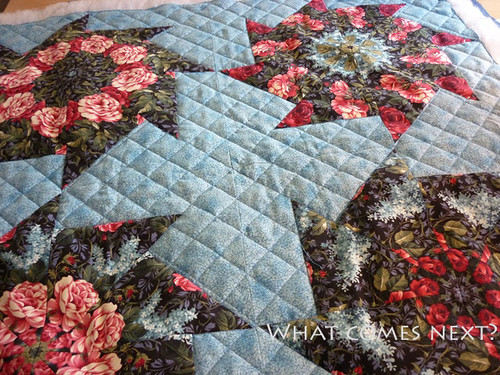
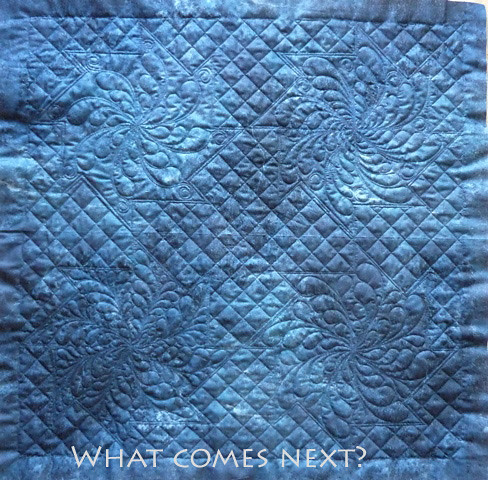
So far I have a set of straight rulers and a couple of curved rulers, and I have used them both, and like the results. To see some videos and read about some tips and techniques to using these rulers, check out Amy's Freemotion Quilting Adventure, where she goes into a lot more detail then I will here. This week is also her last Free Motion Monday Quilting Adventure - Ruler Work, and I will be linking up there.
 In order to easily use rulers, you must have a flat surface to work on. My machine is set into a table, which gives me that. I also use a super slider which helps in moving the quilt around, and I use quilting gloves.
The rulers I have are made by Accents in Design and are really easy to hold on to while you are moving the quilt as they have two pegs, and a strip of velcro tape on the bottom that stops them from slipping. Oops! I didn't take a good picture of my rulers - please check them out at Accents in Design here
Then you need a free motion foot that you can run up against the edge of the ruler. The image below shows you the difference between my regular free motion foot, and the ruler foot. Notice how thick the ruler foot is? That allows it run along the edge of the ruler, with no worries that your foot will slip under the ruler and you'll break a needle, or worse. The edge of the foot running against the ruler means that your line of stitching will be offset by 1/4", something to keep in mind as you are planning your quilting.
 |
| Ruler foot on the left, regular free motion foot on the right |
 |
| ruler foot running against the edge of the ruler |
Following are a few pictures of my hand position, the ruler/foot position and the stitched lines.
Use the etched lines, or in this case the velcro on the bottom to line up your next row of stitching.
and here's what I worked on today

 |
| of course I had to add some feathers! |
Happy quilting!
ps. - I'm linking up to the Needle and Thread Network this week - still have to get the binding on this baby!


Thank you for showing how this is done. Yes, I do agree with you, having seen this, that it is FMQ.
ReplyDeleteThanks for doing this and for sharing Amy's site. I am all excited about figuring out how Nina and I can do this!!! :) Great post!
ReplyDeleteI'm just starting to use rulers with my long arm, they are not as hard as I expected. It's nice to see I can also use them on my regular machine too.
ReplyDeleteLovely quilting. And yes, if long arm quilters use rulers, there is no reason you can't on domestic machines. You just proved what great results you get!
ReplyDeletethx janet…i was wondering what rulers to buy for quilting and you just answered my question
ReplyDeleteThis is awesome. Thanks for sharing!
ReplyDeleteWow! Great info! Thanks for sharing!
ReplyDeleteAmy has a great site...love your quilting
ReplyDeletethanks...I will have to try this. I am usually too afraid to try grids...
ReplyDeleteI had never thought of this! great idea and I love the kaleidoscope quilt in the crosshatch photo. Absolutely gorgeous!
ReplyDeleteThanks for sharing this. I love the cross hatching on your quilt. It looks so pretty with the feathers. I can't wait to play with my new curved rulers.
ReplyDeleteVery cool Janet! I need to know what the advantage is over quilting straight lines with a walking foot?
ReplyDeleteWhat a beautiful crosshatch!
ReplyDeleteFascinating! I had no idea you could do that. Your quilting is, as usual, out of this world.
ReplyDeleteYour quilting is so fantastic.
ReplyDeleteGrit from Germany
Hi, quick question, I have a juki 2010, where can I purchase the ruler foot ? Any tips for obtaining such a foot? Thx!
ReplyDelete